Shower & Grout Restoration in Tampa Bay
Stained, uneven, or crumbling shower grout cleaned, repaired where it can be, and color sealed — plus failed caulk replaced.
Call (813) 607-1182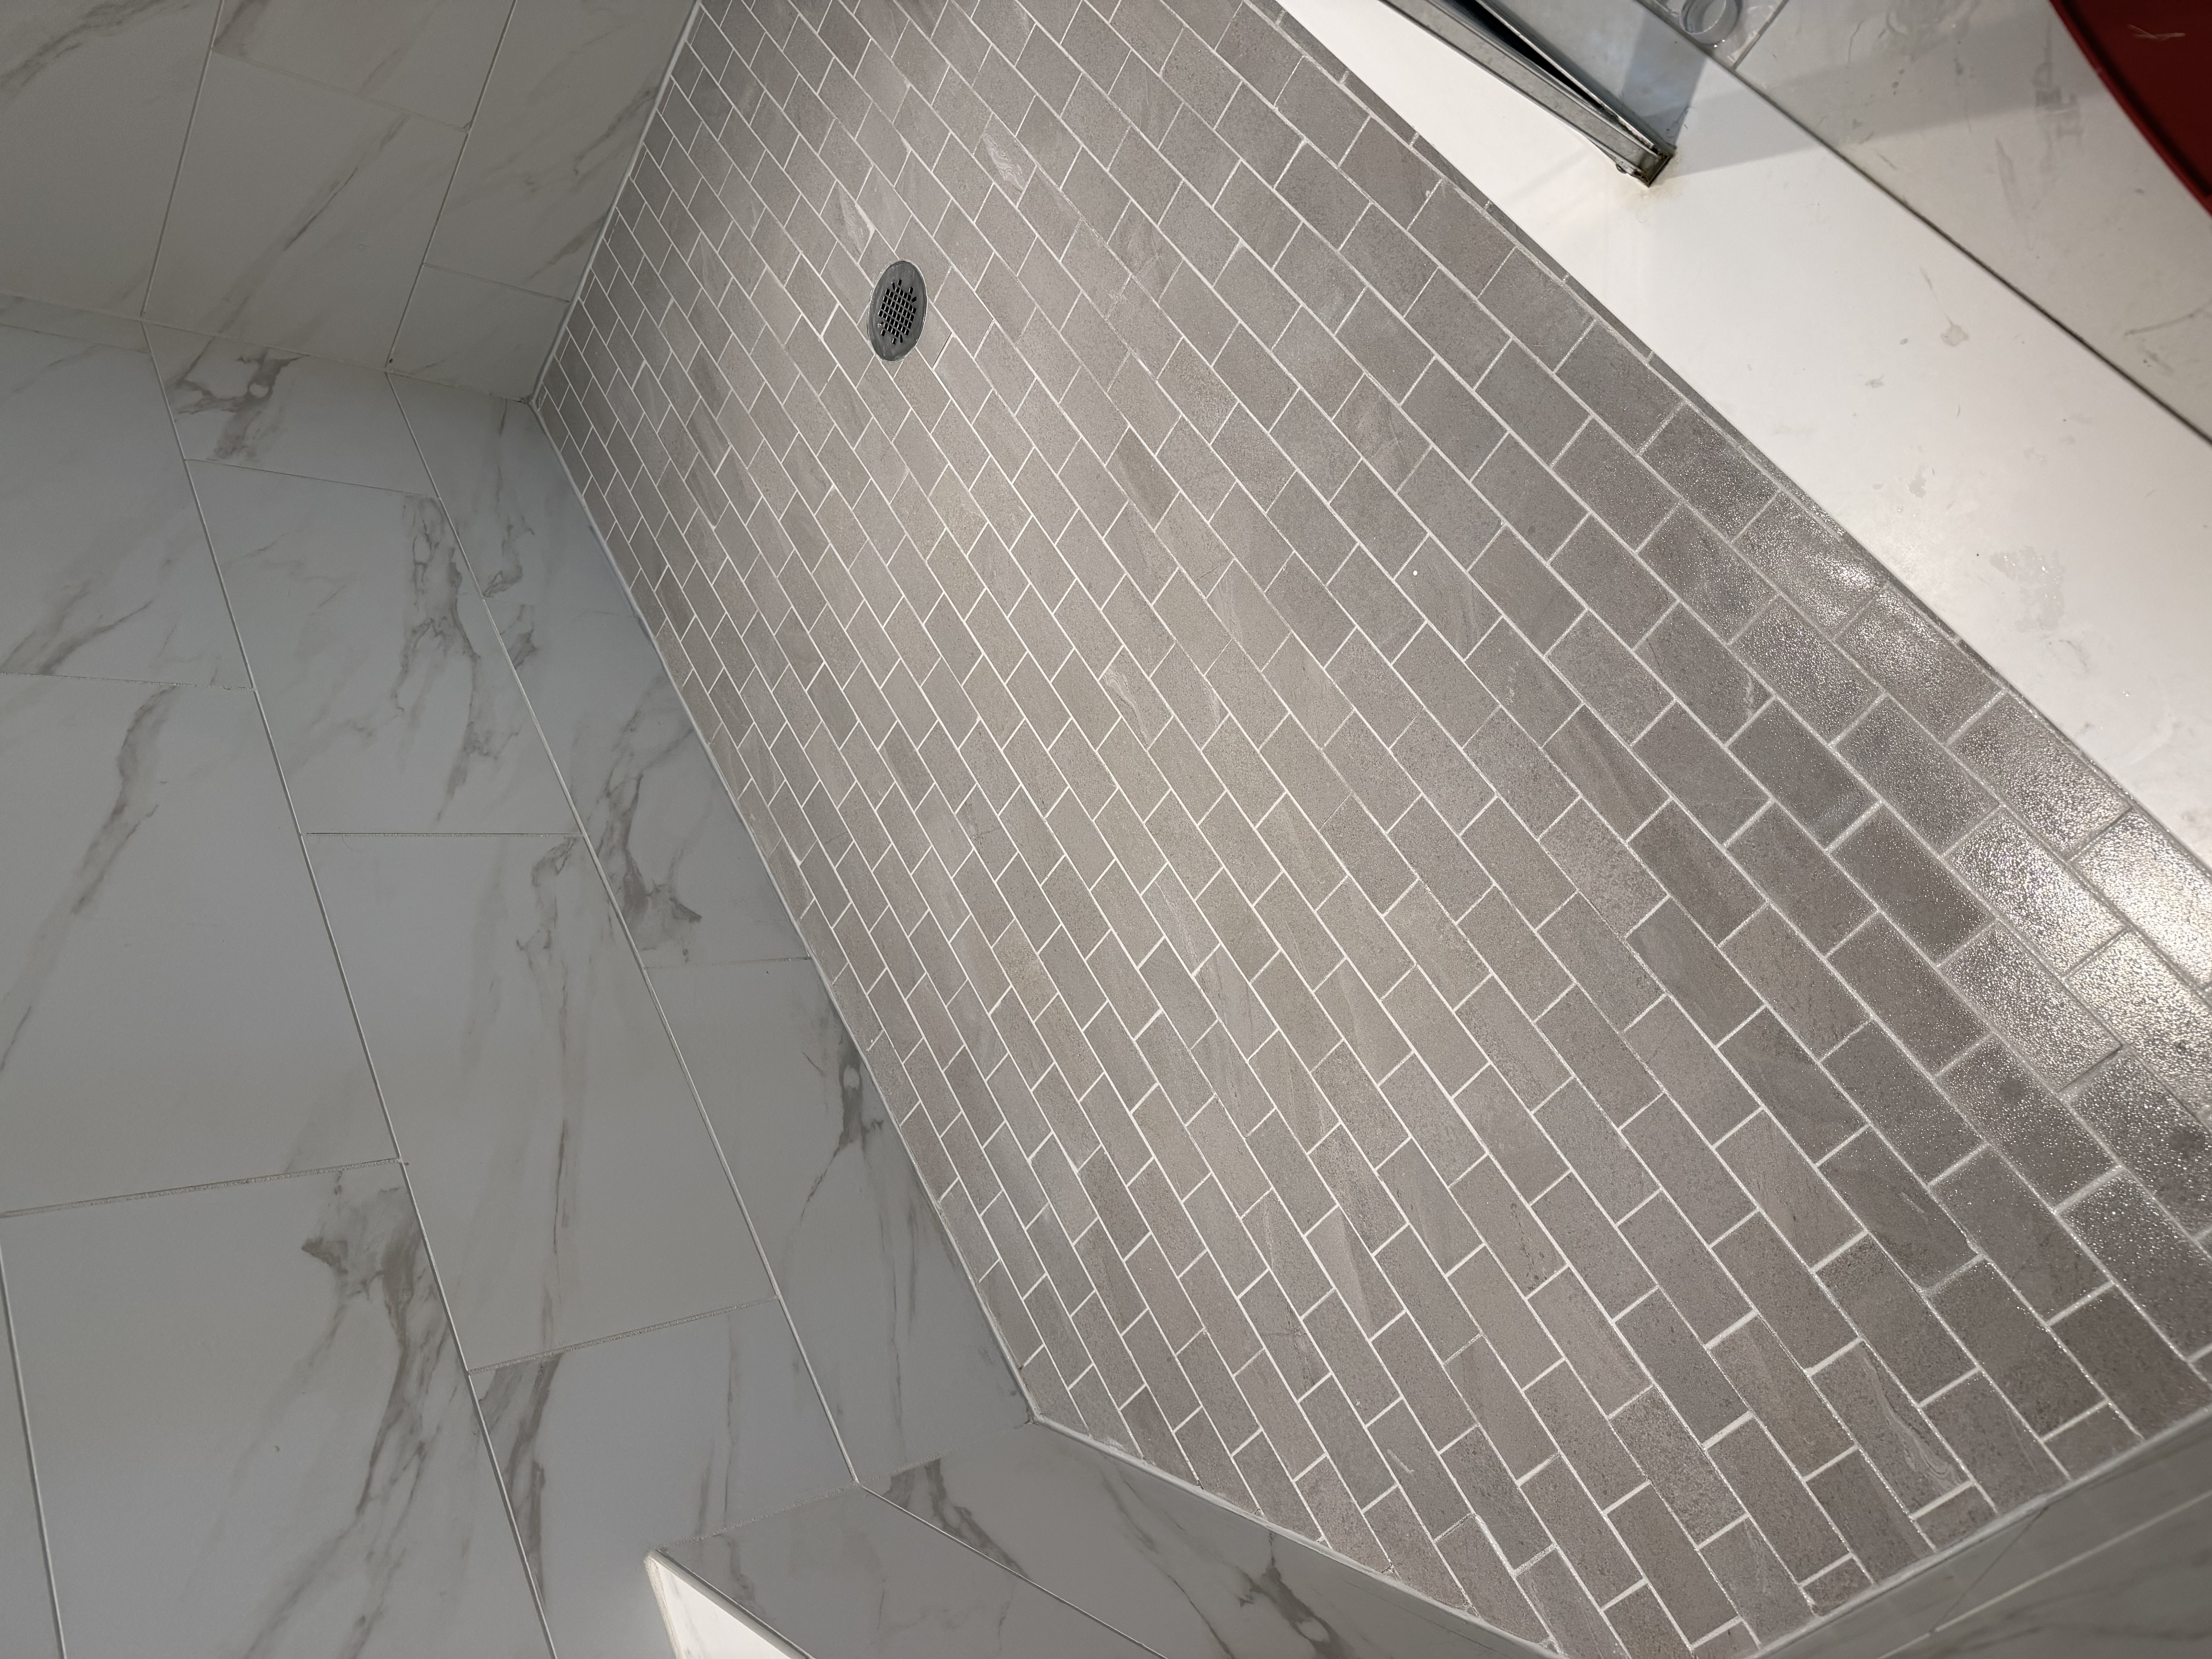
Real HydroLux project — shower pan grout color sealing, Epperson Lagoon, Wesley Chapel.
See the project →What Shower Grout Restoration Actually Includes
Four distinct steps — and we tell you which ones your shower genuinely needs.
Shower Deep Cleaning
Tile, grout lines, and the shower floor are deep cleaned to remove soap scum, body oils, hard-water mineral deposits, and embedded soil. This step is always required before any sealing.
Localized Grout Repair
Cracked, missing, or crumbling grout in small areas is repaired where the surrounding tile is sound. We fix what can be fixed rather than sealing over a failing surface.
Shower Grout Color Sealing
On suitable cementitious grout, we apply a pigmented color sealer for a uniform, easier-to-maintain finish. Colors are approved from physical samples before application.
Caulk Replacement
Failing caulk at the base, corners, and changes of plane is removed and replaced. Caulk and grout are different materials — sealing grout does not fix a bad caulk line.
Four Shower Grout Problems — and What Actually Fixes Them
Most shower inquiries are one of these four. Here is why each happens, what restoration can do about it, and where the honest limit is.
Grout that stays black, orange, or gray — even after scrubbing
Why it happens: Shower grout is porous. Soap scum, body oils, hard-water minerals, and mildew work into the surface and stain the cement itself, not just the top layer. Household cleaners lift the surface film but rarely reach what has set in.
What we do: A deep clean with the right chemistry for your grout type, followed by grout color sealing once the joints are dry — which restores a uniform color and seals the surface so soil sits on top instead of soaking in.
Honest limit: If the discoloration is mildew growing behind the tile or in failed caulk, cleaning and sealing will not solve it. We will tell you before you pay for decorative work.
Uneven, blotchy, or patchy grout color
Why it happens: Color drift comes from years of uneven wear, previous over-the-counter sealers that yellowed or flaked, patched repairs, or grout that was never fully uniform to begin with.
What we do: Color sealing is the only way to make every joint match again short of removing and regrouting. One pigmented sealer is applied across the entire shower so walls, floor, and pan read as a single consistent tone.
Honest limit: Epoxy grout cannot be color sealed, and joints that are physically breaking down need repair before any color can be applied.
Cracked, missing, or crumbling grout joints
Why it happens: Grout is rigid. Movement, age, moisture cycles, and past cleaning with harsh acids cause hairline cracks and voids, especially at inside corners and where the floor meets the curb.
What we do: Localized grout repair on areas where the surrounding tile is sound, then sealing once the repair has cured properly.
Honest limit: Grout that is failing throughout the shower means the surface is past restoration — that is a rebuild, not a sealing job, and we refer it out.
Failed, peeling, or moldy caulk at the base and corners
Why it happens: Caulk and grout are different materials that fail differently. Caulk is flexible and belongs at changes of plane; grout is rigid and cracks there. Once caulk pulls away, water gets behind it and mildew follows.
What we do: The failing caulk is removed, the joint cleaned and dried, and new sealant installed as its own step in the project.
Honest limit: Replacing caulk does not fix an active leak or a failed shower pan. Those are plumbing and waterproofing issues we do not cover.
How a Shower Project Runs
- 1Inspect the shower — grout type, condition, caulk lines, and any water damage
- 2Deep clean and neutralize the tile and grout
- 3Repair localized grout defects where the surface allows
- 4Remove failing caulk and replace it with new sealant
- 5Apply color sealer to suitable shower grout (color approved first)
- 6Final detail, cleanup, and written care instructions
We leave written instructions for when the shower can be used normally again, based on the products used on your project.
Before, During, and After — One Shower Floor
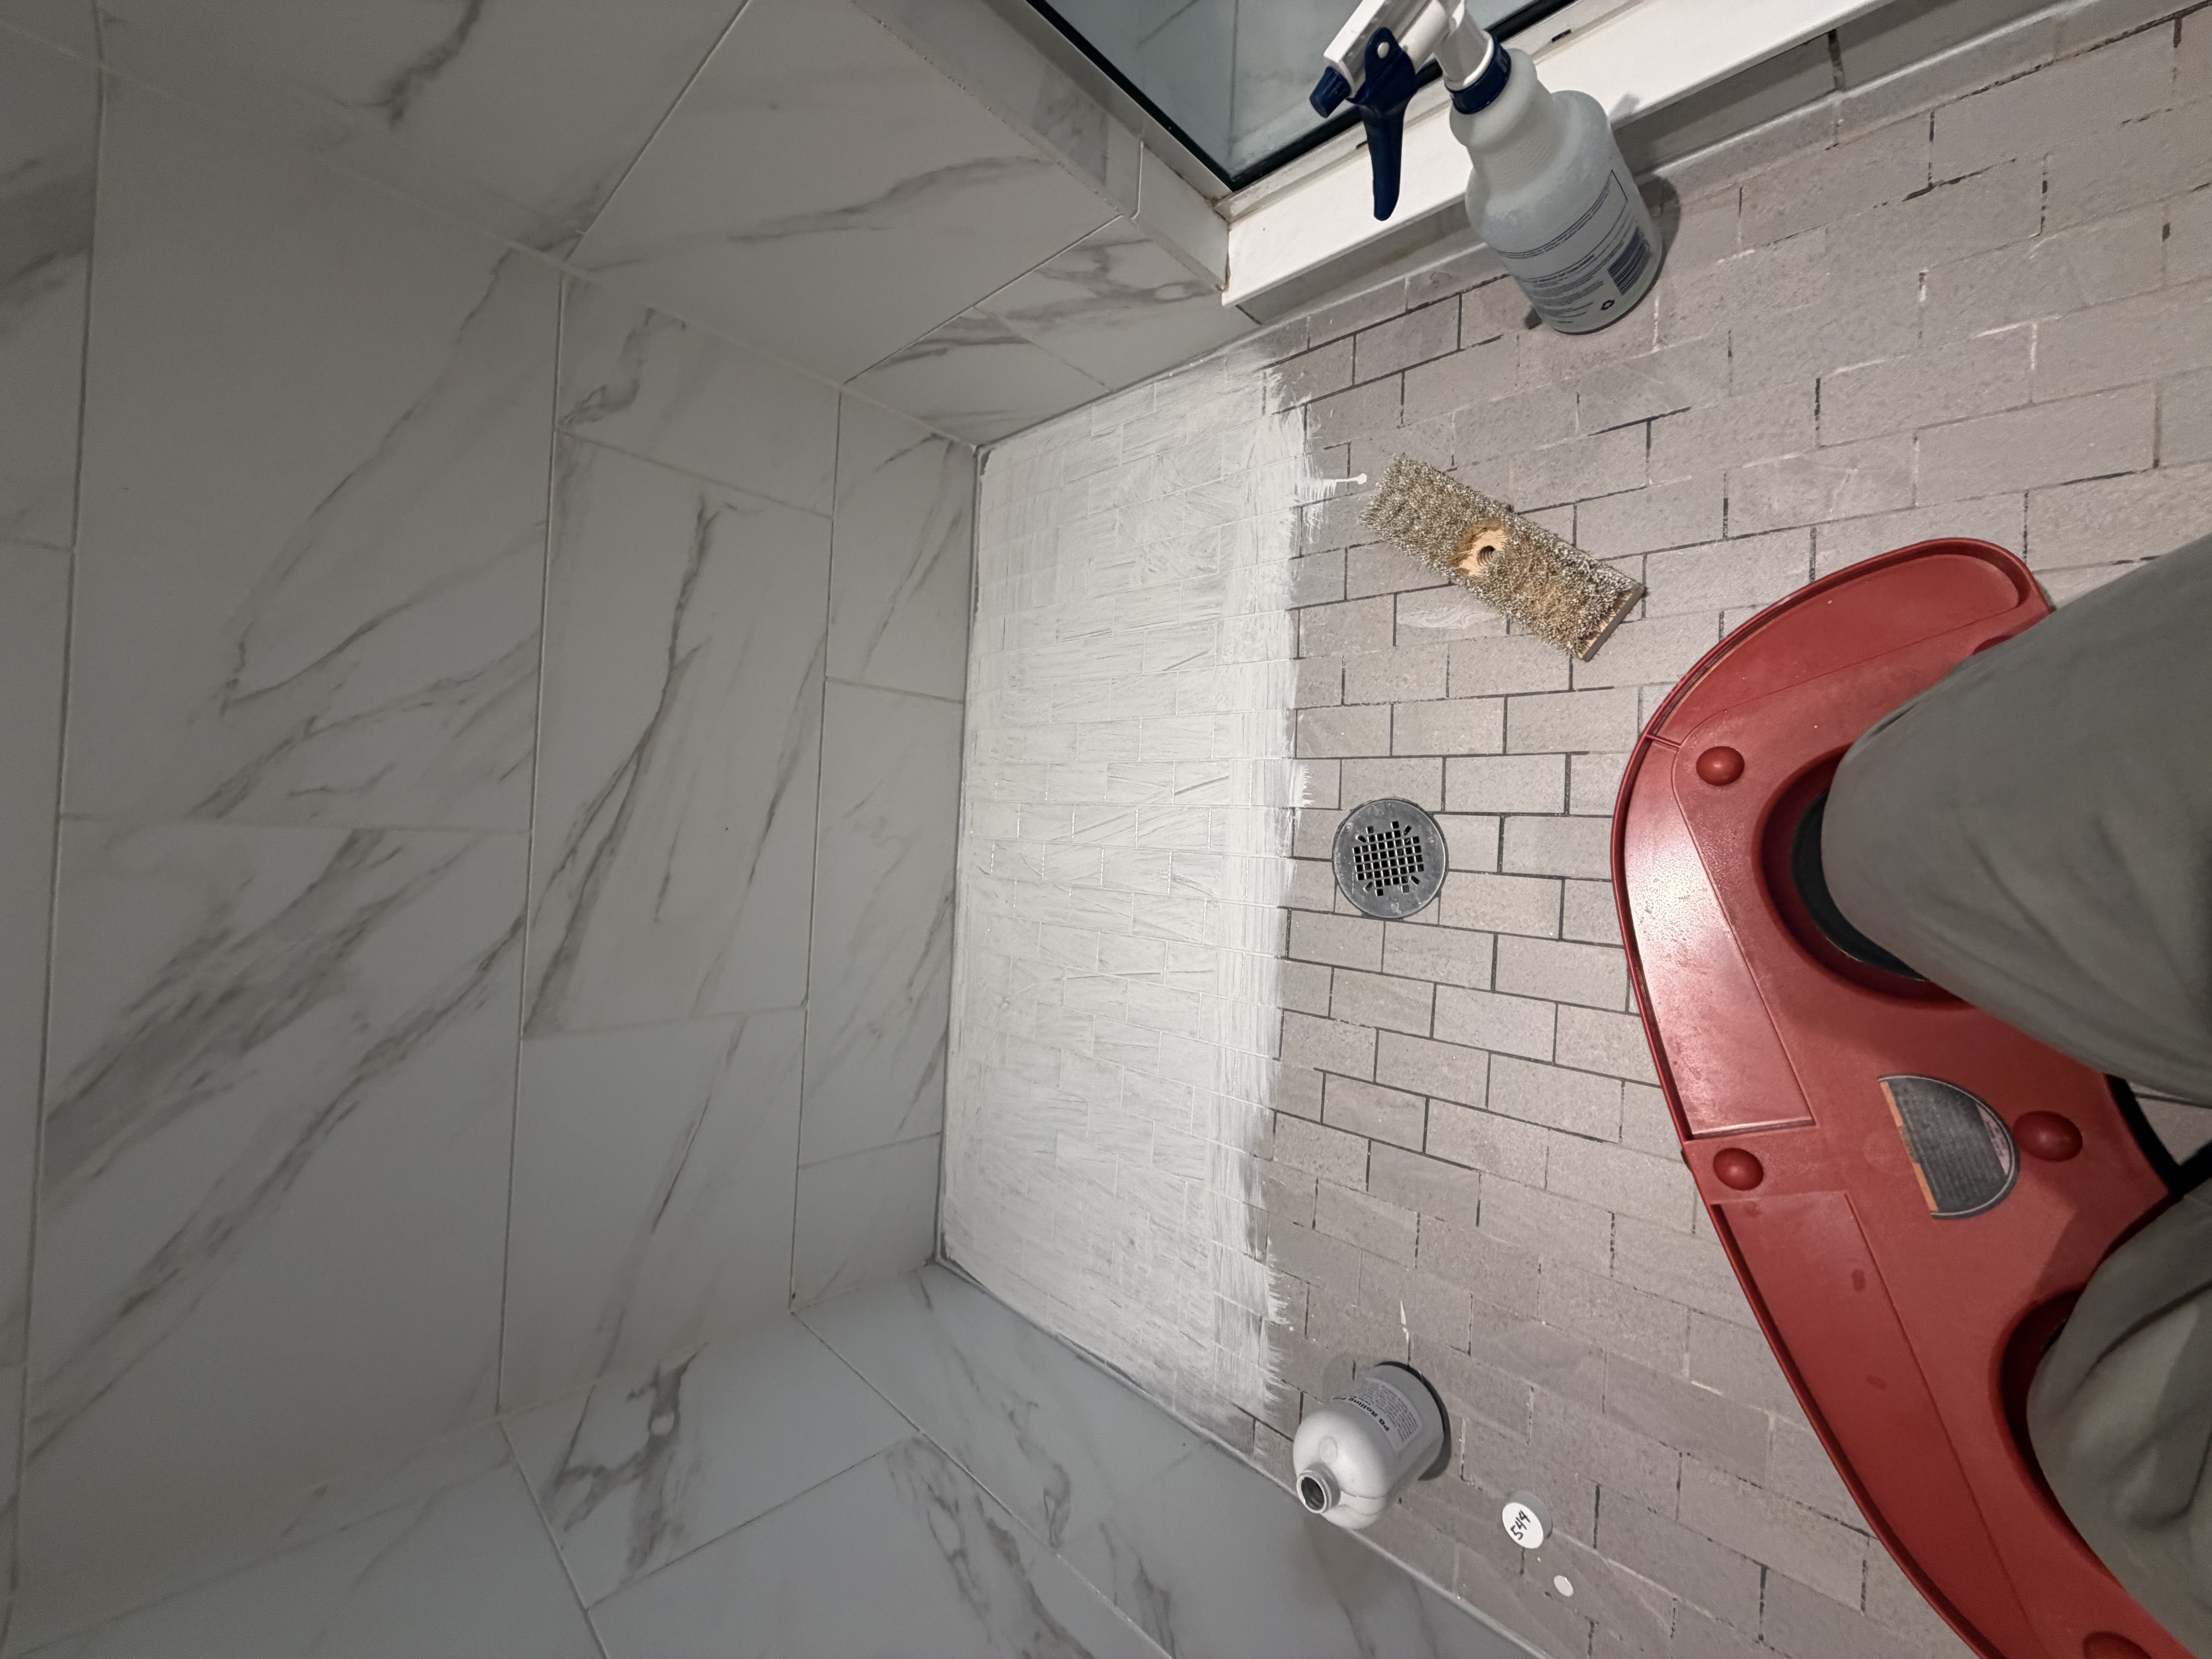
Not a rendering. A single shower pan photographed at three points in a HydroLux restoration.
 BEFORE
 DURING
 AFTER
What We Will Not Do
A restoration specialist should know the edge of their scope. Here is ours.
What we handle
- Soap scum, mineral, and mildew discoloration
- Permanently stained or blotchy shower grout
- Localized grout repair on sound tile
- Grout color sealing on suitable grout
- Caulk removal and replacement
- Shower floors, walls, pans, and niches
What we refer out
- Active leaks or failed shower pan waterproofing
- Shower valve, drain, or plumbing repairs
- Full shower rebuilds and tile replacement
- Grout that is structurally failing throughout
- Epoxy grout (color sealer will not bond)
- Mold remediation behind the tile
We are a licensed and insured floor restoration company, not a waterproofing or plumbing contractor. If we find a water problem during the assessment, we will say so before taking any payment for decorative work.
Send a Few Photos of Your Shower
A photo of the shower floor, one of the walls, and one close-up of the grout is usually enough to tell you what is achievable and what it will cost.
What helps us quote fastest
- Full shower floor and pan
- One wall, straight on
- Close-up of the grout and caulk line
- Rough shower size if you know it
Frequently Asked Questions
Grout Color Sealing & Restoration
Floors, walls, and full-surface restoration.
Learn moreGrout Repair
Cracked, missing, or worn grout assessed and repaired.
Learn moreEpperson Lagoon Shower Project
The shower behind the photos on this page.
Learn moreGrout Color Sealing in Wesley Chapel
Local projects, colors, and pricing.
Learn moreTile & Grout Cleaning
Deep cleaning without color change.
Learn moreHow to Clean Grout Lines
What works, and what damages grout.
Learn moreGrout Color Sealing Cost
What drives the price of a project.
Learn moreLet's Look at Your Shower
Send photos or call HydroLux for an honest assessment of what your shower grout can become.